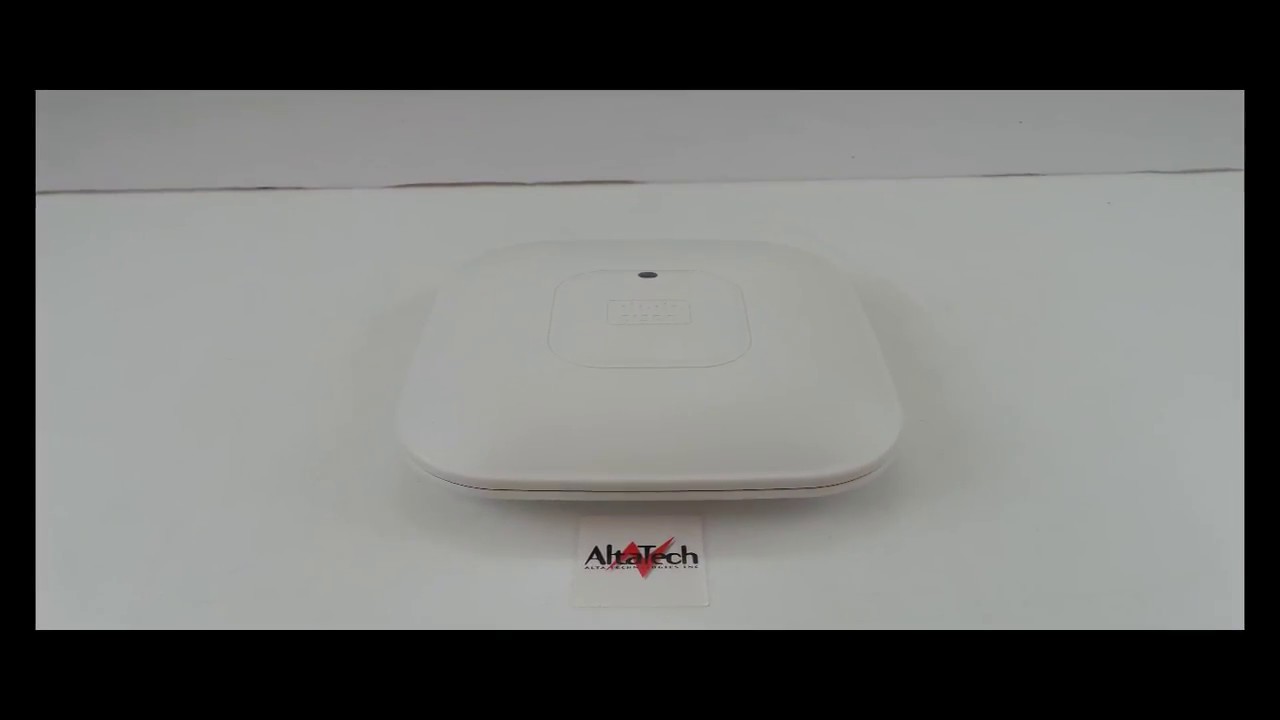
Cheat sheets: configure Cisco Aironet AIR-CAP2602I-E-K9 as home access point
Written on October 2nd , 2021 by Sergei Semenov
Introduction
Goal: set Autonomous AP in AIR-CAP2602I-E-K9
Required tools
- Cisco Aironet AIR-CAP2602I-E-K9 Dual-Band 802.11n Wireless Access Point
- https://serverfault.com/questions/1039578/initial-cisco-nexus-setup-without-serial-cable
- TTY settings: Speed 9600
Installation
Step 1: Download image for Aironet 2600i Access Point, Autonomous Mode
https://mt.thavinci.za.net/Firmware/Cisco/Mixed/ https://mt.thavinci.za.net/Firmware/Cisco/Mixed/ap3g2-k9w7-tar.153-3.JF11.tar
Description : WIRELESS LAN Release : 15.3.3-JF11 Release Date : 10-Dec-2019 FileName : ap3g2-k9w7-tar.153-3.JF11.tar Min Memory : DRAM 256 Flash 32 Size : 13.22 MB ( 13864960 bytes) MD5 Checksum : fef199c07e6cdbbd20c44d7b23eda027 … SHA512 Checksum : 3c323ad137d34673a8486f9a183b1780 …
Step 2: Run tftpserver in docker
sudo mkdir /var/tftpboot
sudo chmod 777 /var/tftpboot
docker run --entrypoint=/bin/sh --rm -p 0.0.0.0:69:69/udp -v /var/tftpboot:/var/tftpboot -i -t pghalliday/tftp
Step 3: upload image to tftpserver
cp ~/Downloads/ap3g2-k9w7-tar.153-3.JF11.tar /var/tftpboot
Step 4: Flash AP
dir flash:
set BOOT flash:/ap3g2-k9w7-mx.153-3.JF11/ap3g2-k9w7-xx.153-3.JF11
set BOOT flash:/ap3g2-k9w7-mx.153-3.JF11/ap3g2-k9w7-mx.153-3.JF11
boot
Step 5: Configure WLAN
Go to configure mode
a> enable
ap#configure terminal
2.4Ghz: Creating SSID | Authentication | Applying WPAv2 Authentication
ap(config)#dot11 ssid Cisco_WLAN
ap(config-ssid)#guest-mode
ap(config-ssid)#authentication open
ap(config-ssid)#authentication key-management wpa version 2
ap(config-ssid)#wpa-psk ascii Cisco123
ap(config-ssid)#exit
2.4Ghz: Enable Encryption to 4.2GHz Radio interface | Apply SSID to interface| Enable Radio Interface
ap(config)#interface dot11Radio 0
ap(config-if)#encryption mode ciphers aes-ccm
ap(config-if)#ssid Cisco_WLAN
ap(config-if)#channel least-congested
ap(config-if)#no shutdown
ap(config-if)#exit
ap(config)#exit
5 GHz: Radio Interface -> Creating SSID | Authentication | Applying WPAv2 Authentication
ap(config)#dot11 ssid Cisco_WLAN 5GHz
ap(config-ssid)#guest-mode
ap(config-ssid)#authentication open
ap(config-ssid)#authentication key-management wpa version 2
ap(config-ssid)#wpa-psk ascii Cisco123
ap(config-ssid)#exit
5GHz: Enable Encryption to 5 GHz Radio interface | Apply SSID to interface| Enable Radio Interface
ap(config)#interface dot11Radio 1
ap(config-if)#encryption mode ciphers aes-ccm
ap(config-if)#ssid Cisco_WLAN 5GHz
ap(config-if)# channel  36
ap(config-if)#no shutdown
ap(config-if)#exit
Save configuration
copy running-config startup-config
Step 6: Final Tuning
Step 6.1: Go to configure mode
ap#configure terminal
Option 1: Turn led off
ap(config)# led display off
Option 2: Better drop
ap(config)#interface dot11Radio 1                                                                                               ap(config-if)#packet retries 128 drop-packet
ap(config-if)#exit
Option 3: Chromecast
ap(config)#interface dot11Radio 0
ap(config-if)#no bridge-group 1 port-protected
ap(config-if)#exit
ap(config)#interface dot11Radio 1
ap(config-if)#no bridge-group 1 port-protected
ap(config-if)#exit
ap(config)#no ip igmp snooping
ap(config)#exit
Step last
ap#copy running-config startup-config
Finally
Wow! Costs are
- AIR-CAP2602I-E-K9 - 20 euro on ebay
- 48V cisco airsupply - 15 euro on ebay
- USB-Com cable - 5 euros
Total: 40 euros and outstanding Wi-Fi network is in your home
Links
- https://mrncciew.com/2012/10/20/lightweight-to-autonomous-conversion/
- https://community.cisco.com/t5/wireless/chromecast-with-autonomous-access-points/td-p/2589646
- http://www.seanlabrie.com/2015/configuring-cisco-1702i-autonomous-access-point-for-use-with-chromecast/
- https://www.cisco.com/web/software/Wireless/Deferral/AP1520_Image_Recovery.htm
Last update:02 October 2021
Feel free to share!